
To create a hanging indent in Canva, you can easily adjust the text settings within the platform. By following a few simple steps, you can elevate the appearance of your text and enhance the overall layout of your design effortlessly. Hanging indents are a valuable tool for setting off quotes, bulleted lists, or references in a visually appealing way. Let’s dive into the quick and essential process of how to do hanging indent in Canva.

How to Do Hanging Indent in Canva
Welcome to our guide on how to create a hanging indent in Canva! If you’ve ever wanted to format your text in a way that stands out and looks professional, a hanging indent is a great option. In this article, we’ll walk you through the steps to achieve this formatting style in Canva. So, grab your creative hat, and let’s get started!
What is a Hanging Indent?
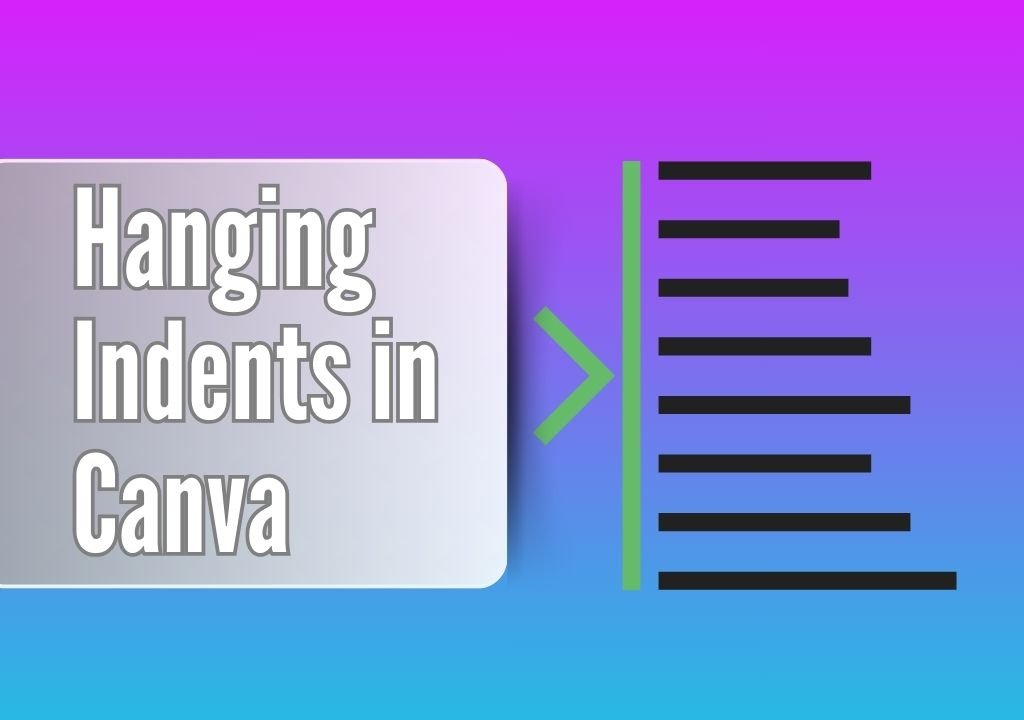
Before we dive into the nitty-gritty details of how to create a hanging indent in Canva, let’s first understand what a hanging indent actually is. A hanging indent is a typographical style where the first line of a paragraph starts at the left margin, but the subsequent lines are indented. This style is commonly used in bibliographies, references, and citations to make the text more visually appealing and organized.
Step-by-Step Guide to Creating a Hanging Indent in Canva
Now that you know what a hanging indent is, let’s explore how you can achieve this formatting style in Canva. Follow these simple steps to create a hanging indent:
Step 1: Log in to Canva
First things first, log in to your Canva account or sign up for a new one if you don’t have an account yet. Canva is a user-friendly graphic design platform that offers a wide range of tools and features for creating visually appealing designs.
Step 2: Create a New Design
Once you’re logged in, click on the “Create a design” button and select the type of design you want to work on. Whether it’s a social media post, flyer, presentation, or any other design project, Canva has templates to suit your needs.
Step 3: Add Text to Your Design
After selecting your design template, it’s time to add text to your design. Click on the “Text” tab on the left-hand side of the screen and choose a text box to insert into your design. Type or paste the text that you want to format with a hanging indent.
Step 4: Format the Text with a Hanging Indent
Now comes the fun part – formatting your text with a hanging indent. Follow these steps to create a hanging indent in Canva:
– Select the text box that contains the text you want to format.
– Click on the “Text” tab on the toolbar at the top of the screen.
– Look for the “Spacing” option and click on the drop-down menu.
– Select “Indentation” from the drop-down menu.
– Adjust the “Left indentation” slider to set the desired amount of indent for the subsequent lines of your text.
– Make sure the “First line” slider is set to zero to create a hanging indent effect.
Step 5: Fine-Tune Your Design
Once you’ve applied the hanging indent to your text, take some time to fine-tune your design. Play around with different font styles, sizes, and colors to make your text visually engaging and easy to read. You can also add other design elements like images, shapes, and icons to enhance your overall design.
Tips and Tricks for Creating a Polished Hanging Indent
Now that you know how to create a hanging indent in Canva, here are some tips and tricks to help you achieve a polished and professional-looking design:
Tip 1: Use Consistent Formatting
Make sure to use consistent formatting throughout your design. This includes keeping the font style, size, and color consistent across all text elements to maintain a cohesive look.
Tip 2: Pay Attention to Alignment
Pay attention to the alignment of your text and design elements. Align your text and images properly to create a visually appealing layout that is easy to read and navigate.
Tip 3: Experiment with Different Indentation Levels
Don’t be afraid to experiment with different levels of indentation to find the right balance for your design. Play around with the indentation sliders in Canva to see what works best for your text.
Congratulations! You’ve successfully learned how to create a hanging indent in Canva. By following the step-by-step guide outlined in this article and applying the tips and tricks provided, you can now format your text with a hanging indent like a pro. So, go ahead and unleash your creativity in Canva to design stunning visuals with hanging indents that will impress your audience!
How to hanging indent on Canva
Frequently Asked Questions
How can I create a hanging indent in Canva?
To create a hanging indent in Canva, follow these steps:
- Select the text box you want to apply the hanging indent to.
- Click on the “Spacing” option in the text editing toolbar.
- Adjust the “First Line Indent” to your desired negative value. This negative value will determine the size of the hanging indent.
Can I adjust the hanging indent after I have applied it in Canva?
Yes, you can easily adjust the hanging indent in Canva. Simply select the text box with the hanging indent, click on the “Spacing” option in the text editing toolbar, and modify the “First Line Indent” value according to your preference.
What is the purpose of using a hanging indent in Canva?
A hanging indent is commonly used in Canva to create a professional and organized look for text, especially in scenarios such as references, bibliographies, and lists. It helps to visually separate the first line of a paragraph from subsequent lines, making the content easier to read and aesthetically appealing.
Final Thoughts
To create a hanging indent in Canva, follow these steps. First, select the text you want to format. Then, click on the text spacing icon and adjust the indentation. Remember, a hanging indent is essential for citations, references, and bibliographies in academic writing. By mastering how to do a hanging indent in Canva, you can elevate the visual appeal of your documents.